Import Azure resources into the Anansi Tool
In order to grant Anansi Read-only access to your Azure resources, here are the steps you need to follow:
Steps to perform in Azure Portal
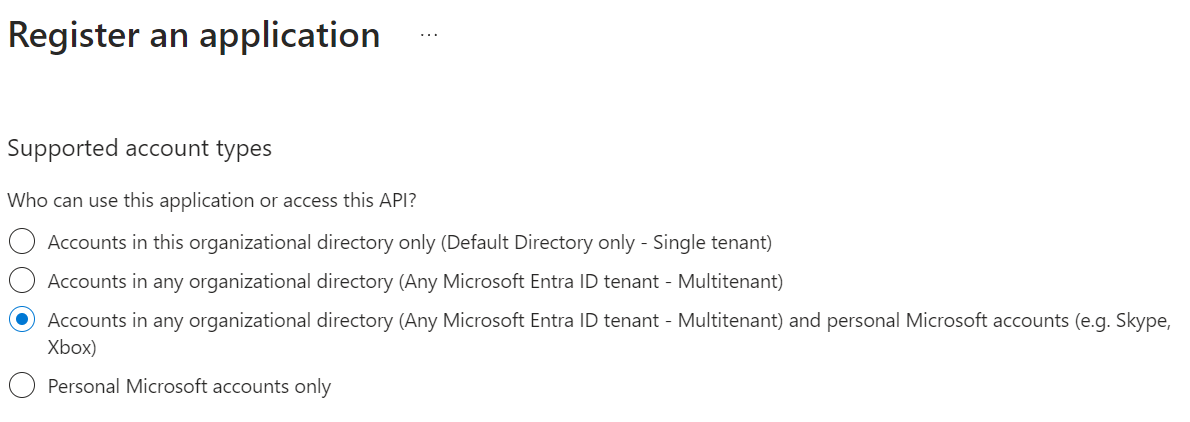
1. Register an Application in App Registration
Register your application in App Registration to obtain an Application ID (Client ID) and configure authentication settings. Follow these steps:
a. Go to the Azure Portal.
b. Search for "App registrations."
c. Click "New registration" and provide a name for your application.
d. Note down the "Application (Client) ID" for future use.
2. Define API Permissions:
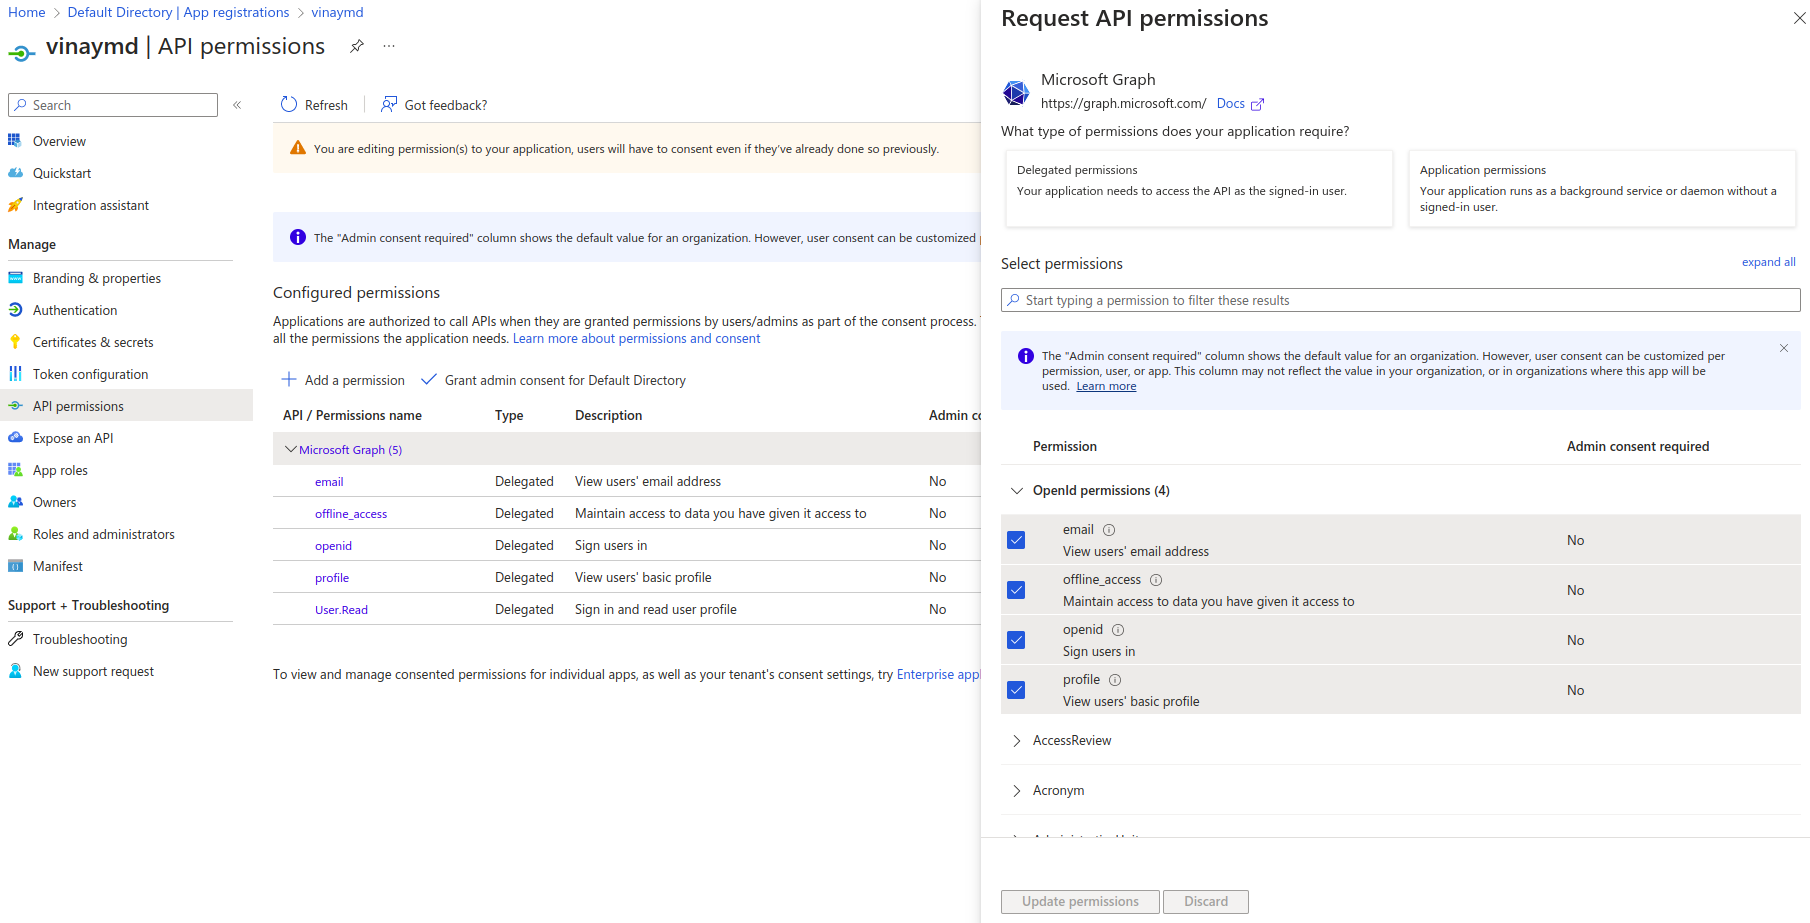
Specify the permissions your application needs to access Azure resources or APIs. To do this, navigate to the "API permissions" or "Permissions" section, select Microsoft Graph, and check all the boxes under OpenID permissions. Finally, click "Update permissions" for your application registration in Azure AD.
3. Define Azure role-based access control:
Azure RBAC is a cloud-based identity and access management (IAM) system provided by Microsoft Azure. It's a fundamental component of Azure's security model, enabling you to manage access to Azure resources, specify actions that users or applications can perform, and control what they can do.
To grant RBAC to resource groups, follow these steps:
a. Navigate to the Azure Portal.
b. Search for 'Resource groups.'
c. Select the desired resource group, and click on 'Access control (IAM).'
d. Click the '+' icon, and choose 'Add role assignment.'
e. Under 'Job function roles', select 'Reader', and click 'Next.'
f. Click '+Select members' to search for your application's name, then click 'Select.'
g. Proceed by clicking 'Next' and 'Review + create.
4. Authentication:
a. Navigate to your registered application.
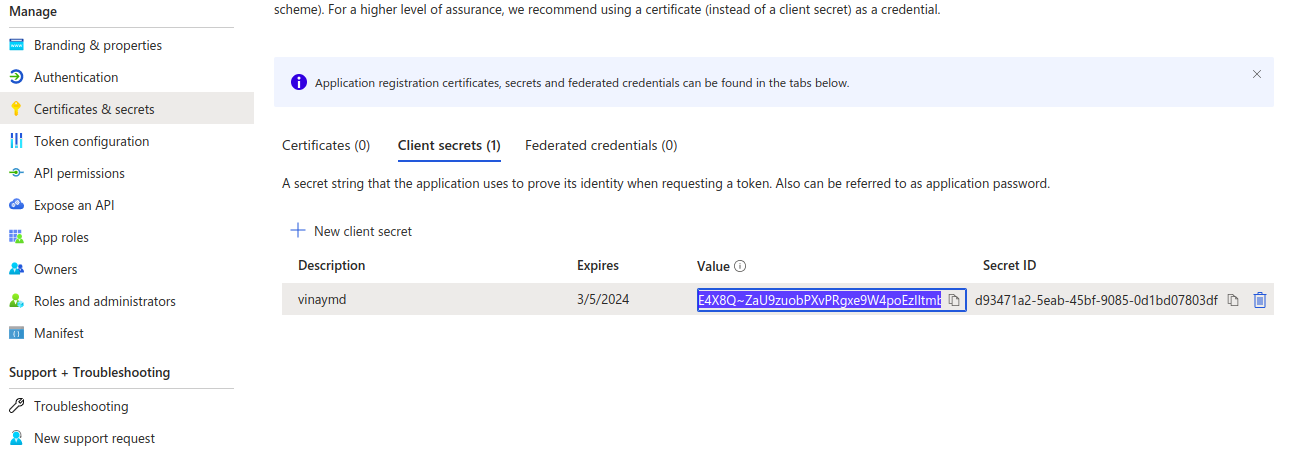
b. Select "Certificates and secrets" under the "Manage" section.
c. Click "New client secret," provide a description, and click "Add."
d. A client_secret will be generated under "Value." Make sure to note down this value; it will be displayed only once.
Prerequisite Steps to perform in Anansi Tool
Import CSV templates
To create the Metadata Catalog (Azure System), import templates from the provided link. Make the necessary changes to the catalog names in the CSV template.
Import data from azure portal
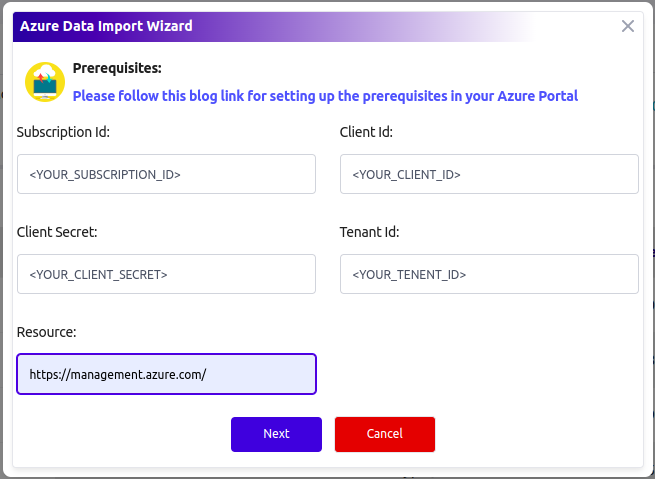
After setting up the tables as per the templates given above, navigate to the Anansi Tool, hover over 'Import,' and select 'Azure Resources.'

Enter these parameters into the tool:
- Subscription Id: Your Azure subscription ID
- Tenant Id: Your Directory ID (tenant ID)
- Client_id: Your Application ID (Client ID).
- Client_secret: Your application's client secret.
- Resources: https://management.azure.com/
Click 'Next'.
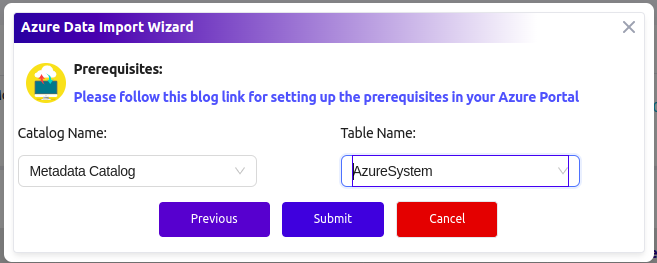
Select the Catalog Name and Table Name from their respective dropdowns. Finally, click on the 'Submit' button.
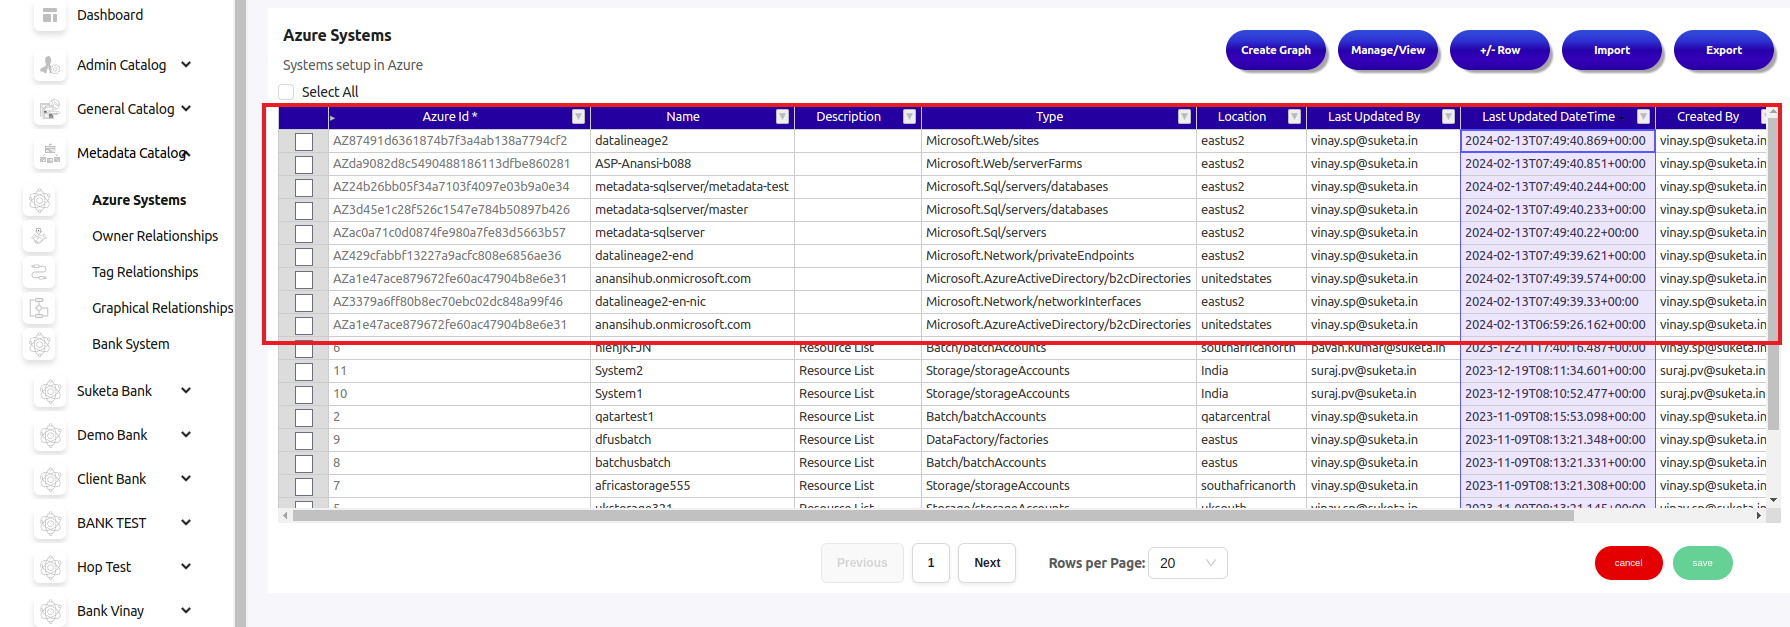
Navigate to the Metadata Catalog and open the respective table; you will see the imported data.
